المقدمة
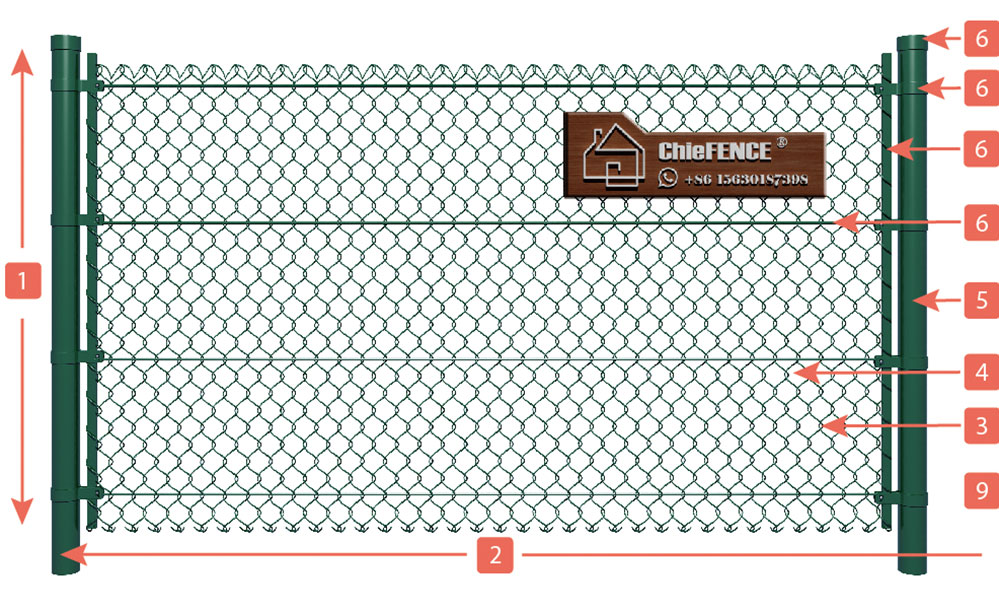
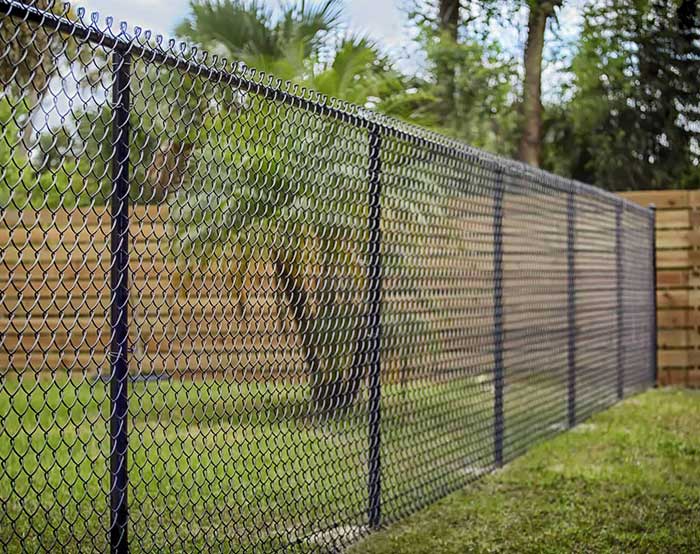
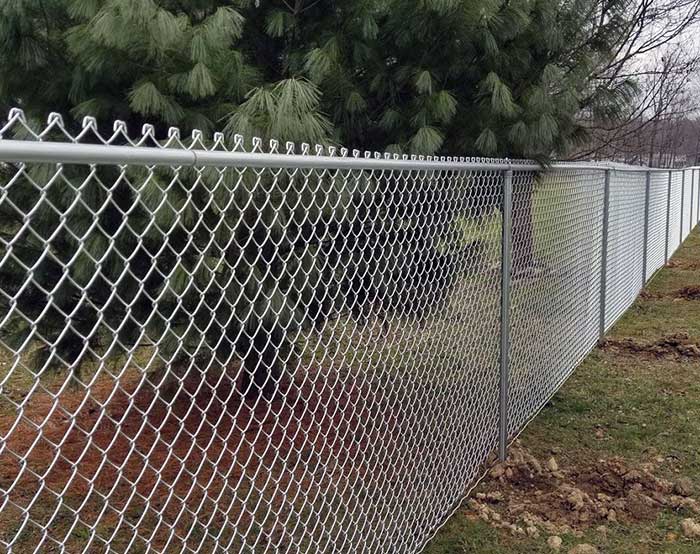
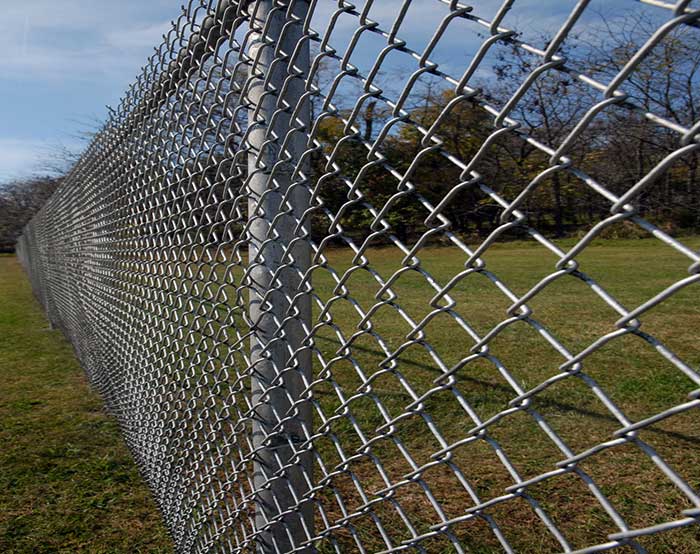
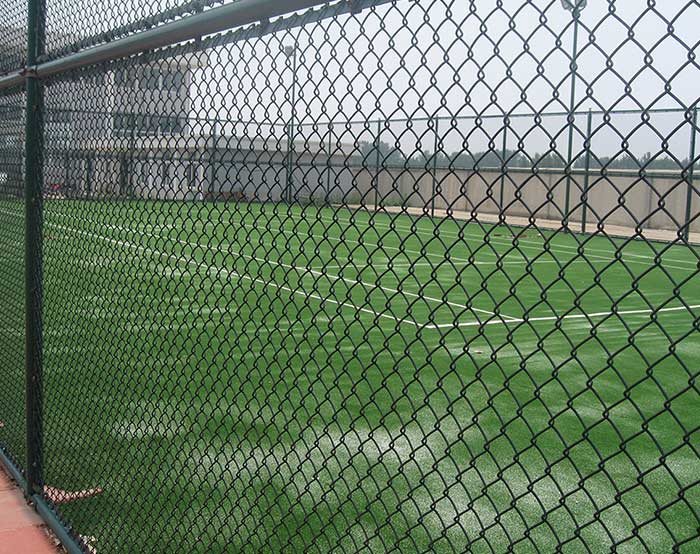
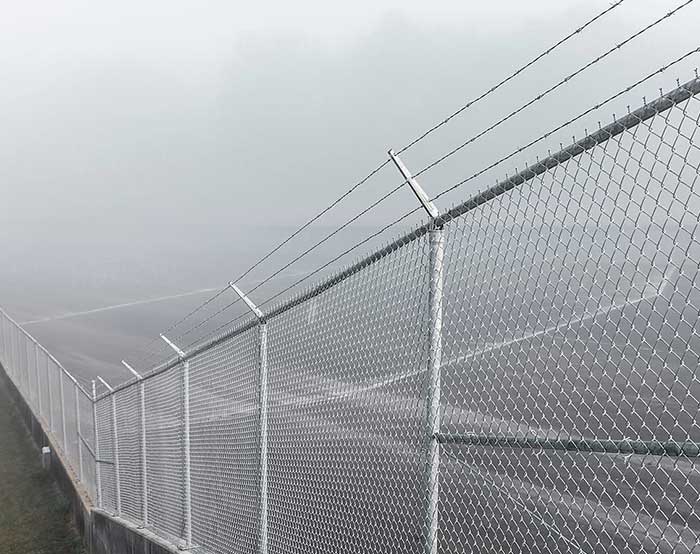
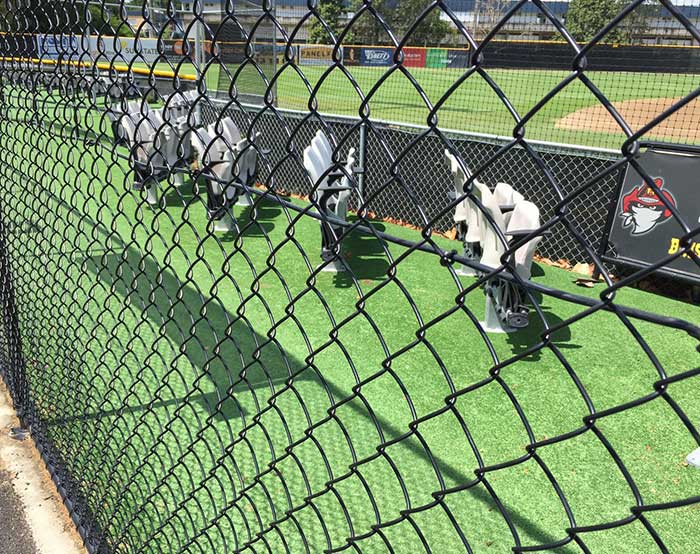
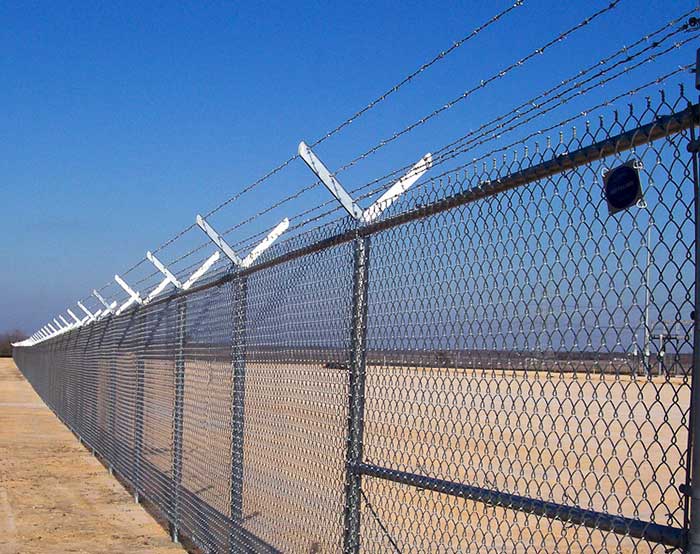
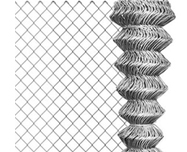
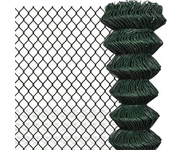
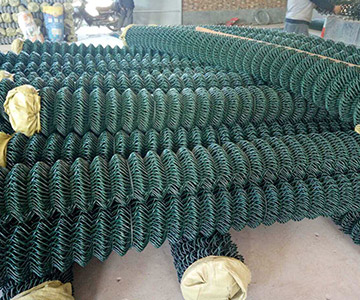
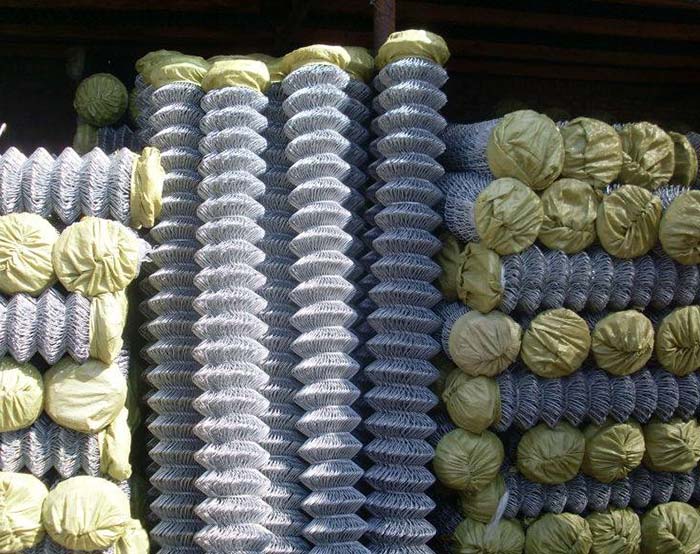
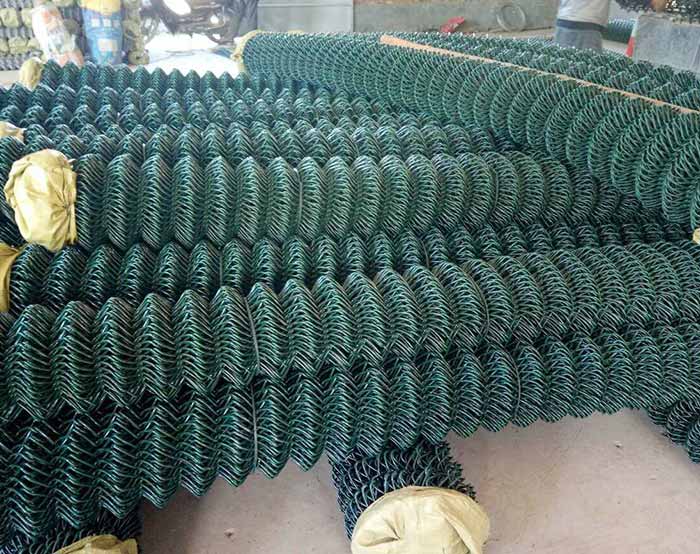
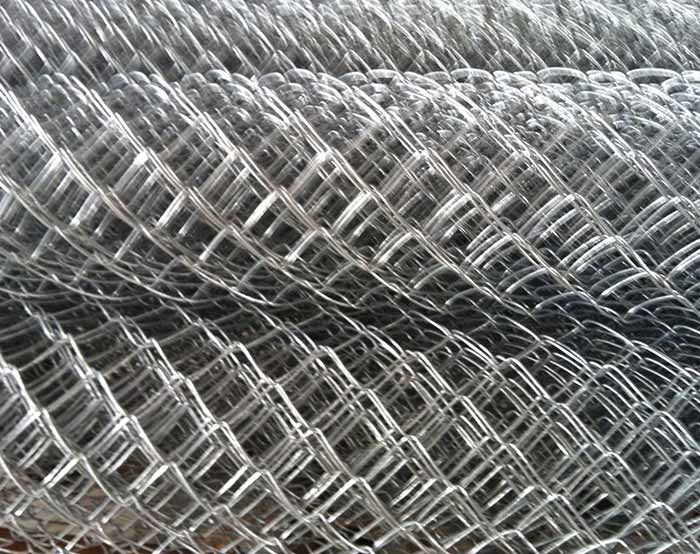
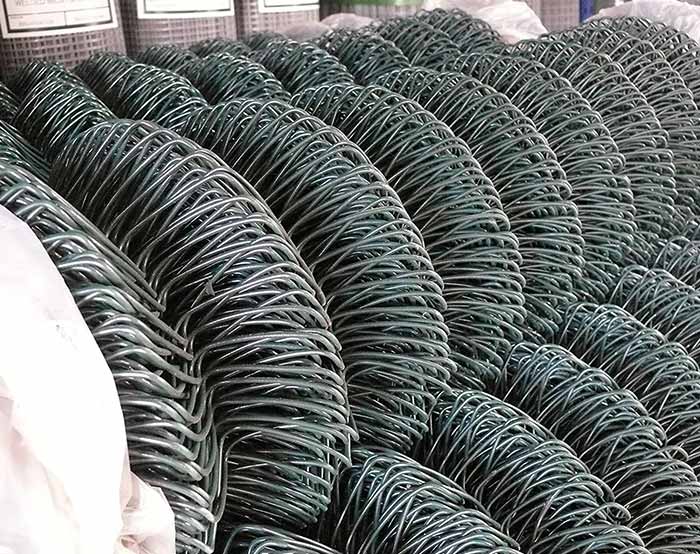
Chain link fence, also called diamond mesh fence, is a type of woven fence usually made from galvanized or pvc coated steel wire. It is widely used in everywhere. Due to the different applications, it is economic choice for farm. And it can also be high security fence for KOC.
ميزات
Lower budget
See-through panel
Anti-rust,Long Service Life
Fast Installation
Customer specs available
Hot sale products
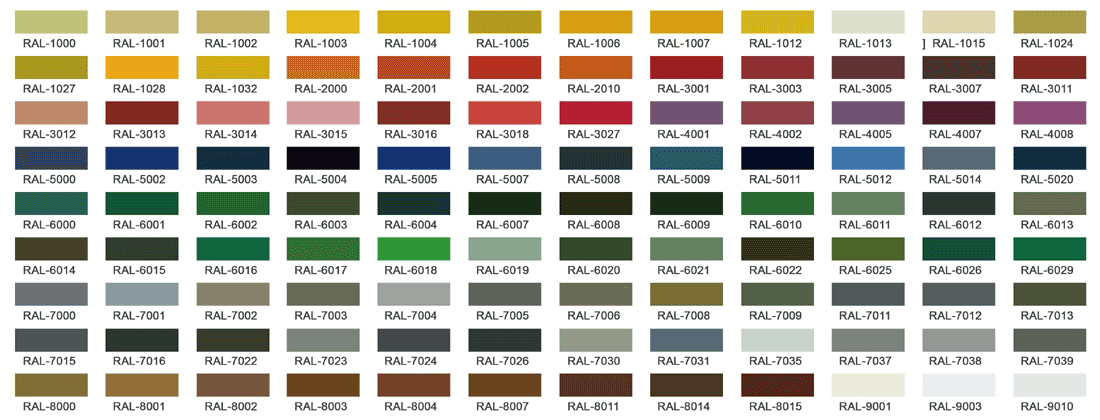
الألوان المتاحة

صالة عرض
اتصل بنا الآن
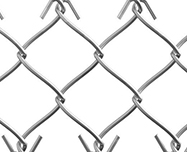
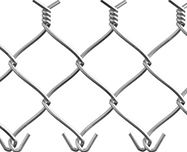
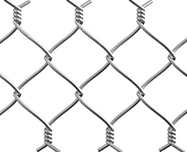
Knuckled at both selvage. (if 1500mm height or less)
Knuckled at one selvage and twisted at the other. (If 1800mm high or over)
Warning—Twisted selvages for fence fabric under 72 in. (1830 mm) in height are not recommended because of consumer safety considerations.
If no speical requirement, we will make Knuckled at both selvage. -(ASTM-A392)
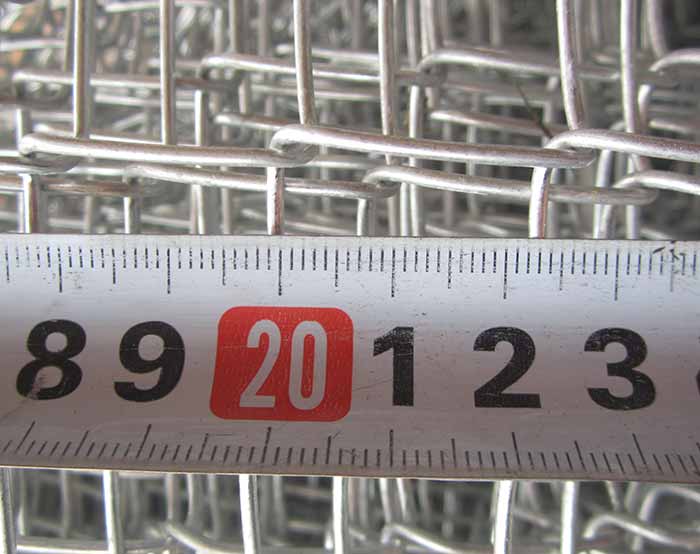
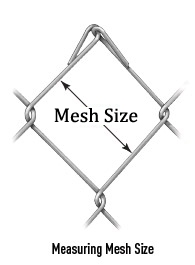
Base on different mesh size and dismeter.
Thicker wire can offer stronger rigid
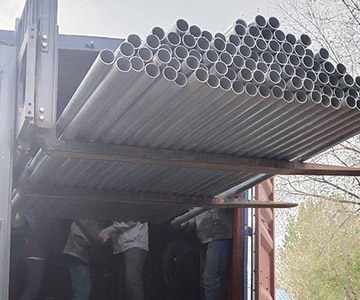
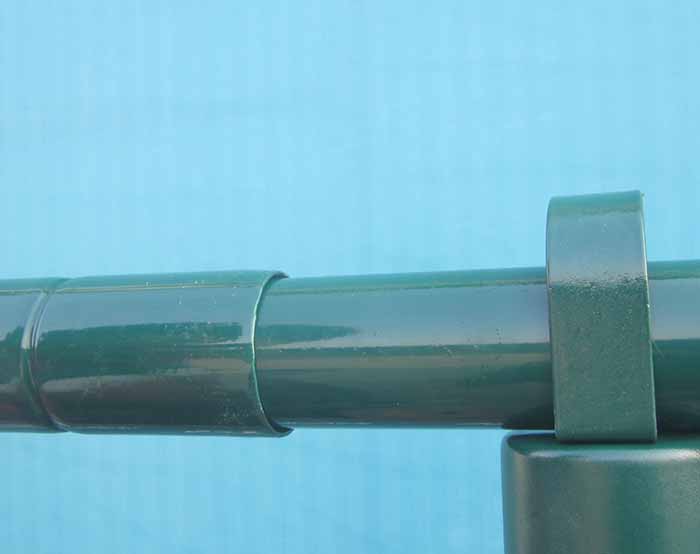
Round post: 60MM
Round post: 76MM
Round post: 89mm
Electric Galvanized(8-12g/m²)
Electric Galvanized(8-12g/m²) + PVC Coated
Hot Dipped galvanized(40-60g/m²) + PVC Coated
Hot Dipped Galvanized (200g/m²-366g/m²)
ما نحتاجه للتحضير
طريقة التثبيت
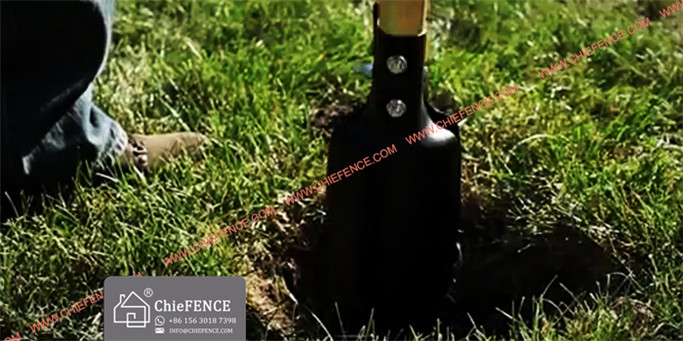
STEP 1,DIG THE POST HOLES
Finish filling in the corner, gate and end postholes with concrete. Check the posts for plumb after every few shovelfuls and adjust as needed. Slope the top of the concrete so water drains away from the posts. Let the concrete cure for two to three days. Do not fill the holes for the line posts with concrete, and don’t put the line posts in place.

STEP 2,ATTACH TENSION BANDS AND GATE HARDWARE
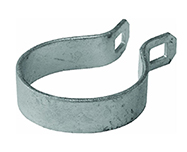
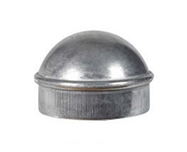
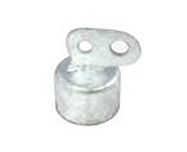
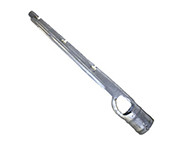
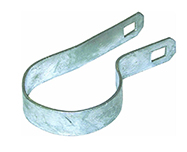
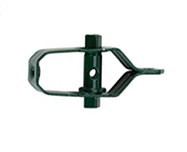
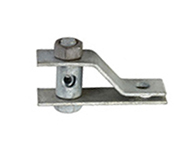
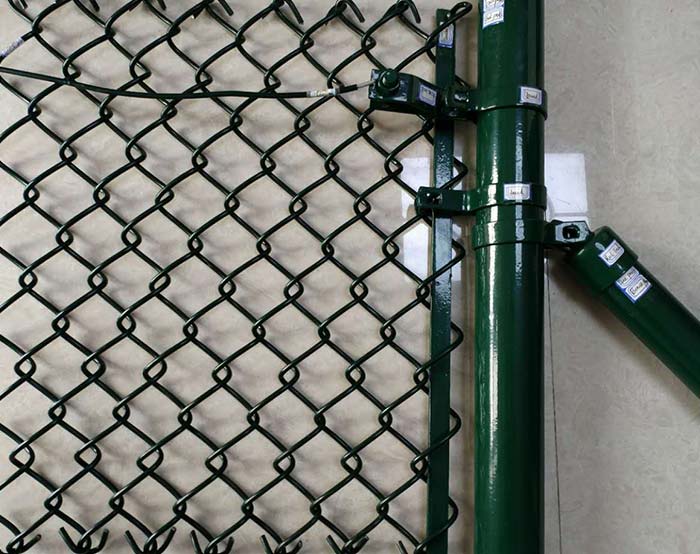
Slide tension bands onto each corner, gate and end post. The bands will help hold the mesh in place once it’s installed. You will use 3 for a 4-foot fence, 4 for a 5-foot fence, and 5 for a 6-foot fence. Put hinges and latch hardware onto the gateposts at roughly their final positions, to install later. Use a rubber mallet to drive end post caps onto the gate, corner and end posts, and slip a brace band over each installed post.
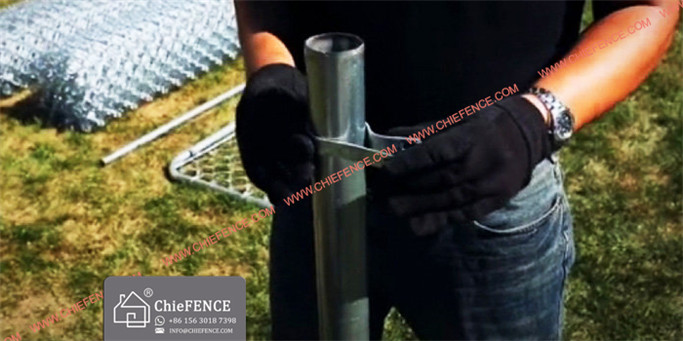
STEP 3,INSTALL ALL CAPS
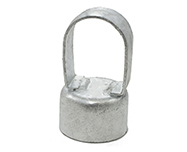
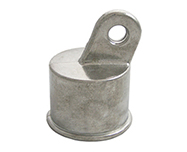
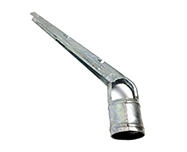
Install looped caps, end post caps and rail caps. Drive looped caps onto the line posts with the mallet and put the posts in their holes, but don’t fill the holes. Bolt a rail cap to each brace band, tightening just enough to hold the cap in place. Feed the rails through the looped caps. Cut rails with a pipe cutter or hacksaw, if needed. If you need longer rails, join them together using rails with a slightly smaller wedged end that fits into a full-size rail.
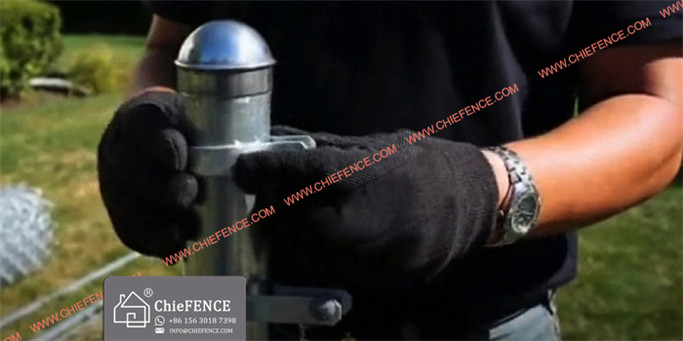
STEP 4,ATTACH THE RAILS
Fit the rails into the rail caps and raise or lower each cap to the final height of the mesh, including 2 inches clearance at the bottom. Tighten the brace bands, fill the holes around the line posts with dirt and tamp until firm.
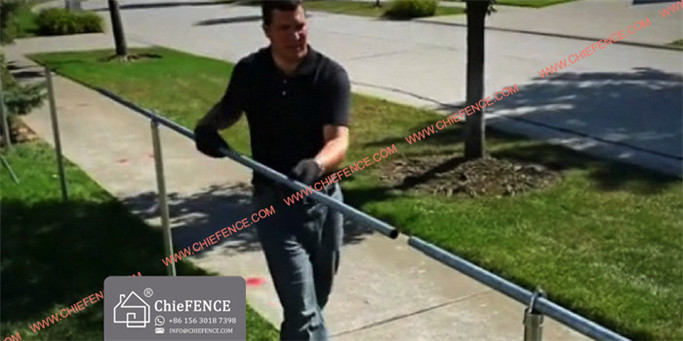
STEP 5,UNROLL THE MESH AND INSTALL A TENSION BAR
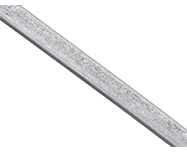
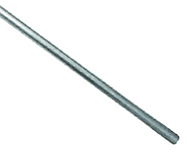
Lay the chain link mesh on the ground outside the fence. Run a tension bar through the links at the end of the mesh. The bar makes the end of the fence rigid and provides something to attach to the posts.
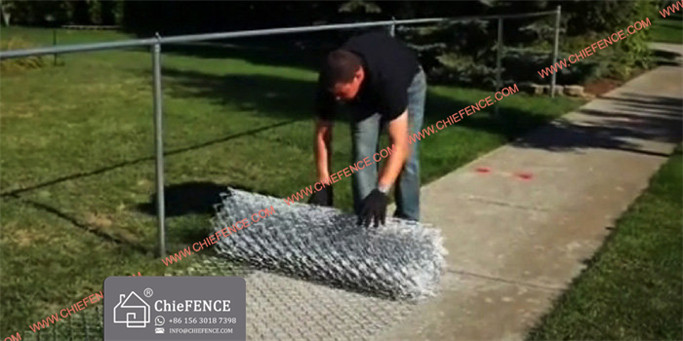
STEP 6,ATTACH THE TENSION BAR TO THE POSTS
With a helper, stand the mesh up and use a socket wrench to bolt the tension bar into the tension bands on one of the end posts. Align the mesh so it overlaps the rail by 1 to 2 inches and sits about 2 inches above the ground.
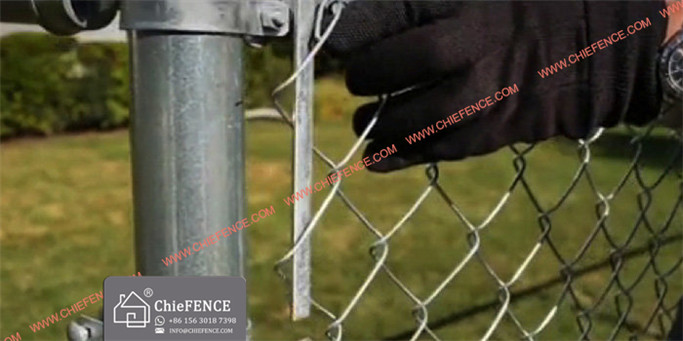
STEP 7,STRETCH THE MESH
Chain link mesh must be pulled taut or it will sag. Stretching is done with a tool called a fence puller (A). Note location of the tension bar (B). Insert a pull bar through the unattached mesh a few feet from the final post (C). Attach the yoke to the pull bar.
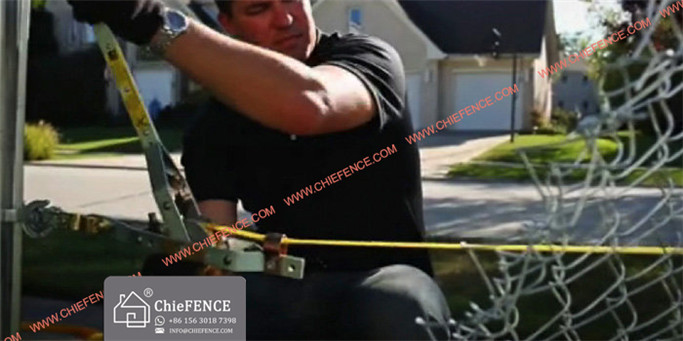
STEP 8,TEIGHT THE MESH
Crank the fence puller until the loops of the mesh move no more than ¼ inch when you squeeze them together. If the mesh changed height or became distorted during tightening, pull on it to reshape it.
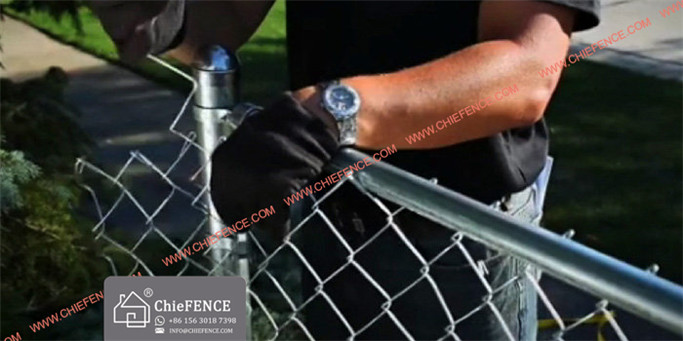
STEP 9,INSTALL A TENTION BAR
Without releasing the fence puller, insert a tension bar in the mesh close enough so it can be fastened to the tension bands on the end post nearest the fence puller. To remove the excess mesh between the tension bars and end post, open a loop at the top and bottom, then twist and pull the strand free.
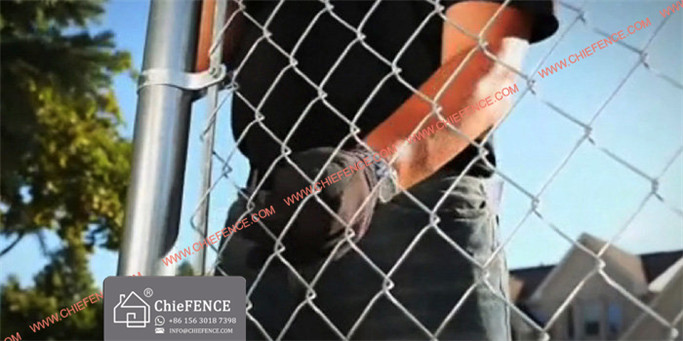
STEP 10,INSTALL A TENTION BAR
Pull the tension bar into the tension bands on the end post by hand, and then tighten the bolts on the bands with a socket wrench. Release the fence puller and remove the pull bar to which it was attached. Repeat the entire hanging and stretching process along the remaining sides of the fence.
مخطط تدفق الإنتاج
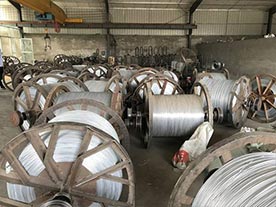 STEP 01
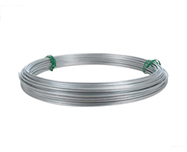
Galvanized Chain Link Fence Steel Wire
Galvanized Chain Link Fence Fabric Weaving
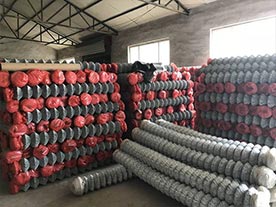 STEP 03
Galvanized Chain Link Fence Storage
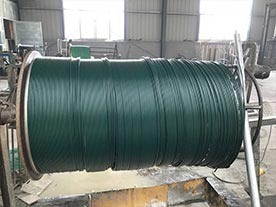 STEP 04
PVC Coated Chain Link Fence Steel Wire
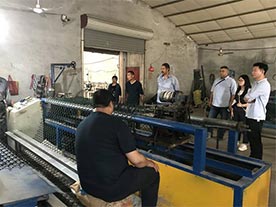 STEP 05
PVC Coated Chain Link Fence Fabric Weaving
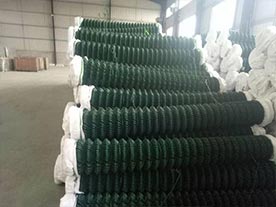 STEP 06
PVC Coated Chain Link Fence Storage
صفقة
المرجع
2011,3000m chain link fence project for Mexico.
2012,5000m chain link fence project for America.
2013,82600m chain link fence project for KISR(The Kuwait Institute For Secientific Research) Kuwait.
2014,25000m chain link fence project for Kuwait.
2015,5000m chain link fence for "Container Terminal 4" of Turkey.
2017,9000m chain link fence for South Africa.
2018,38500m chain link fence for Russia.
2019,9000m chain link fence for Oman.
CUSTOMER SAY
I'm Sibi from Oman, just recieved chain link fence, very good quality, I'm going to buy a container of chain link fence from Chiefence!
-SibiThe chiefence team give me big surprise for my chain link fence, frankly, I dont know this product very well, but the chiefence give me all the detail, how to install, how to put them together, there are many accessories, when I received my fence, a little worry to separate it, but all of them are with label, separate very well, that is very kinds, good working.
-Good WorkingHi everyone, I am Rowan, it is my please to send the feedback message to Chiefence, this company is great, we work business since 2015, they help me to get my client’s construction project, good quality, nice price, also happy travel to chiefence factory, thanks you guys.
-RowanGood day, This is Ahmad , Chiefence ‘fence is always with good quality, we working business for 10 years, they working delivery on time when I have urgently request, we are good friend now.
-AhmedI'm Paul from Qatar, received the quotation and all the technical documents quickly, very professional. Price is competitive, will consider to book a new container soon.
-Paulالتعبئة والتحميل


